




A stainless steel pan that sticks, heats unevenly, and takes ages to clean: this is the number one reason people go back to non-stick, even though they know it contains PFAS. The problem is almost never the pan. It lies in three incorrectly learned habits that no one clearly explains: preheating empty, waiting for the right thermal cue, and not cooking on high heat.
When I started cooking with stainless steel a few years ago, I made all the classic mistakes. I burned eggs, welded a steak to the bottom of the pan, and spent forty minutes scraping off charred residue. It was precisely this experience that led me to create SAINE, to support the transition to stainless steel with a real user manual, not an illegible technical sheet.
This guide covers everything you need to know to use a stainless steel pan daily: first use, preheating, choice of fat, heat management, Maillard reaction, mistakes to avoid, cleaning. Once these basics are mastered, the stainless steel pan becomes the most versatile tool in your kitchen, and above all, the most durable.

Understanding why a stainless steel pan doesn't work like a non-stick one
Before getting into technical details, one thing must be understood: stainless steel is not a slippery coating. It's a metal. It doesn't promise that nothing will ever stick; it promises to conduct heat perfectly, release no toxic substances, and last a lifetime. Non-stick, in stainless steel, doesn't come from the material; it comes from the cooking technique.
In a non-stick pan, PTFE (the famous "Teflon") does the work for you: it mechanically prevents food from sticking. You can place an egg in a cold pan, increase the heat, and it won't stick. In return, this coating degrades over time, is susceptible to scratches, and releases PFAS compounds above 260 °C.
In a stainless steel pan, a physical phenomenon takes over: the Leidenfrost effect. When the metal reaches the correct temperature, a thin layer of steam forms between the surface and the food. This layer acts as a thermal cushion and prevents sticking. It's neither a coating nor magic; it's thermodynamics.
💡 Key takeaway: a stainless steel pan needs to be "driven"; it doesn't just sit on the stove. You adjust three parameters (preheating, fat, temperature) and everything goes well. Skip one of these three and the food will stick.
First use: preparing your new stainless steel pan
You've just unboxed your pan. Before anything else: wash it with hot soapy water using a non-abrasive sponge, rinse thoroughly, and dry it with a soft cloth. This initial wash removes manufacturing residues, polishing marks, and any microscopic storage particles.
🔥 Do you need to season a stainless steel pan?
Unlike cast iron, stainless steel is not seasoned in the traditional sense. There is no patina to develop through successive layers of burnt oil. Some cooks like to do an initial "conditioning" (heating a little oil to a high smoke point to prepare the surface), while others consider it unnecessary. Both schools coexist. I have detailed the pros and cons in a dedicated article: should you season a stainless steel pan.
🛢️ First cooking: start simple
For the very first cooking, go for something fatty and forgiving: sliced onions in a drizzle of oil, or sautéed potatoes. Avoid eggs and fish for your first attempt: these are the two foods that are least forgiving of hesitant technique.
Golden Rule #1: preheat the stainless steel pan empty
This is the most misunderstood step, and by far the most crucial. A stainless steel pan should be preheated empty, without fat, for 2 to 3 minutes over medium heat. Not high heat, not low heat: medium heat.
Why empty? Because oil added too early heats up at the same time as the metal, surpasses its smoke point before the pan reaches its target temperature, and degrades. The result: a layer of oxidized oil that sticks to the bottom, and food that then sticks on top.
Why medium heat and not high heat? Because stainless steel, especially tri-ply, conducts heat very efficiently. High heat raises the temperature beyond the useful threshold, creates hot spots on the bottom, and burns food before it sears.

💧 How to tell when the pan is ready: the water droplet test
There's a simple and infallible visual indicator: the Leidenfrost test. After 2 to 3 minutes of heating, pour a few drops of water into the pan. Three possible scenarios:
- ❌ The water evaporates with a slow sizzle: the pan is not hot enough. Continue heating.
- ✅ The water forms one or more beads that slide across the surface: this is the sign that the Leidenfrost effect has been reached. You can add the fat.
- ⚠️ The water breaks into a thousand tiny smoking droplets: the pan is too hot, remove it from the heat for 30 seconds to let it cool down.
For a step-by-step demonstration with associated temperatures, consult the dedicated guide: how to do the water droplet test on a stainless steel pan.
⚠️ Common mistake: pouring oil into a cold pan then raising the temperature. This is what causes 90% of fried eggs to stick. The correct sequence is: empty pan → heat → droplet test → oil → food.
Golden Rule #2: choose the right fat (and add it at the right time)
Once the pan is hot, you add the fat. The order is important: hot pan → fat → wait 10 to 15 seconds → food. These 10 seconds allow the oil to liquefy, spread, and reach the correct temperature itself.
The determining factor for choosing cooking fat is its smoke point, the temperature at which it degrades and releases undesirable compounds (acrolein, aldehydes). Here's a comparison of the most common fats for cooking in a stainless steel pan.
The practical rule: for searing or a Maillard reaction, prefer an oil with a smoke point above 220 °C. For gently sautéed vegetables or an omelet, an oil with a lower smoke point (like virgin olive oil) is perfectly sufficient.
To delve deeper into this technical subject, I detail all scenarios in what oil to use in a stainless steel pan.
Golden Rule #3: cook on medium heat, never high heat
This is the least intuitive rule, especially when coming from non-stick. Stainless steel conducts heat better than most other cooking materials, especially pans with encapsulated or tri-ply bottoms that incorporate an aluminum layer for diffusion. High heat is almost never necessary, and it is often counterproductive.
High heat overheats the metal beyond the useful threshold, carbonizes juices before they develop their flavors, and can cause the oil to exceed its smoke point. The result: food that is black on the outside, raw on the inside, and residues stuck to the bottom.
Here are the settings I use daily, on an induction hob graded from 1 to 9.
Note that high heat (8-9 on induction) does not appear anywhere in this table. It is reserved for rapid boiling of large quantities of water, not pan cooking. For those cooking with induction, I have detailed the specific settings in the stainless steel pan and induction guide.
Mastering the Maillard reaction in a stainless steel pan
If you take only one thing away from this article: meat detaches by itself when it's ready. This sentence alone summarizes the mechanics of the Maillard reaction in a stainless steel pan, and it prevents most frustrations.
The Maillard reaction is that caramelized browning that gives the typical taste and aromas of a successful sear: a steak, a duck breast, a salmon fillet, the fond at the bottom of the pan that becomes the base for a sauce. It triggers between 140 and 165 °C, when the amino acids and sugars on the food's surface react at high temperatures.
The behavior to adopt is simple: when you place the meat in the hot pan, do not move it. At first, it will stick to the bottom. That's normal. As the surface caramelizes, a crust forms, and this crust naturally detaches from the metal. If you try to lift the meat and it resists, it's not ready. Leave it for another 30 seconds to 1 minute, and it will detach by itself.
✅ Checklist for a successful sear:
- 🥩 Meat at room temperature (out of the fridge 20 min before)
- 🧻 Surface dried with paper towel (water prevents Maillard)
- 🔥 Very hot pan, water droplet test validated
- 🛢️ High smoke point oil (avocado, ghee, high-oleic sunflower)
- ⏱️ Patience: 2 to 3 minutes per side without touching

For the complete theory on this phenomenon, I recommend the article dedicated to the Maillard reaction, and for techniques specific to different meats: techniques for a perfect sear.
What to cook in a stainless steel pan and how to adapt your technique
A properly used stainless steel pan can do almost anything. Here are the main types of cooking and the associated settings, so you know what to cook in your pan the day you buy it.
🥩 Red and white meats
Sear red meats over medium-high heat (5 to 7 on induction), and poultry and pork over medium heat. Stainless steel pans excel at French-style cooking that requires fond for deglazing. The pan bottom collects all the caramelized flavors, which a non-stick pan does not allow.
🐟 Fish
Crispy skin, pearly flesh: stainless steel is formidable for salmon and fish with skin (sea bass, sea bream). Classic preheating, high smoke point oil, skin-side down, patience. Like meat, fish will release from the pan when it's ready.
🍳 Eggs
This is the ultimate test for any cook starting with stainless steel. The key: medium heat (not high), hot butter or oil, and gently crack the egg. This is a topic in itself, covered in how to cook fried eggs in a stainless steel pan without sticking.
🥕 Vegetables
From quick stir-fries to confit vegetables, including caramelized onions, stainless steel is perfect. For vegetables with high water content (mushrooms, zucchini), do not overcrowd the pan, otherwise, they will release their water and boil instead of sautéing.
🍲 Sauces and deglazing
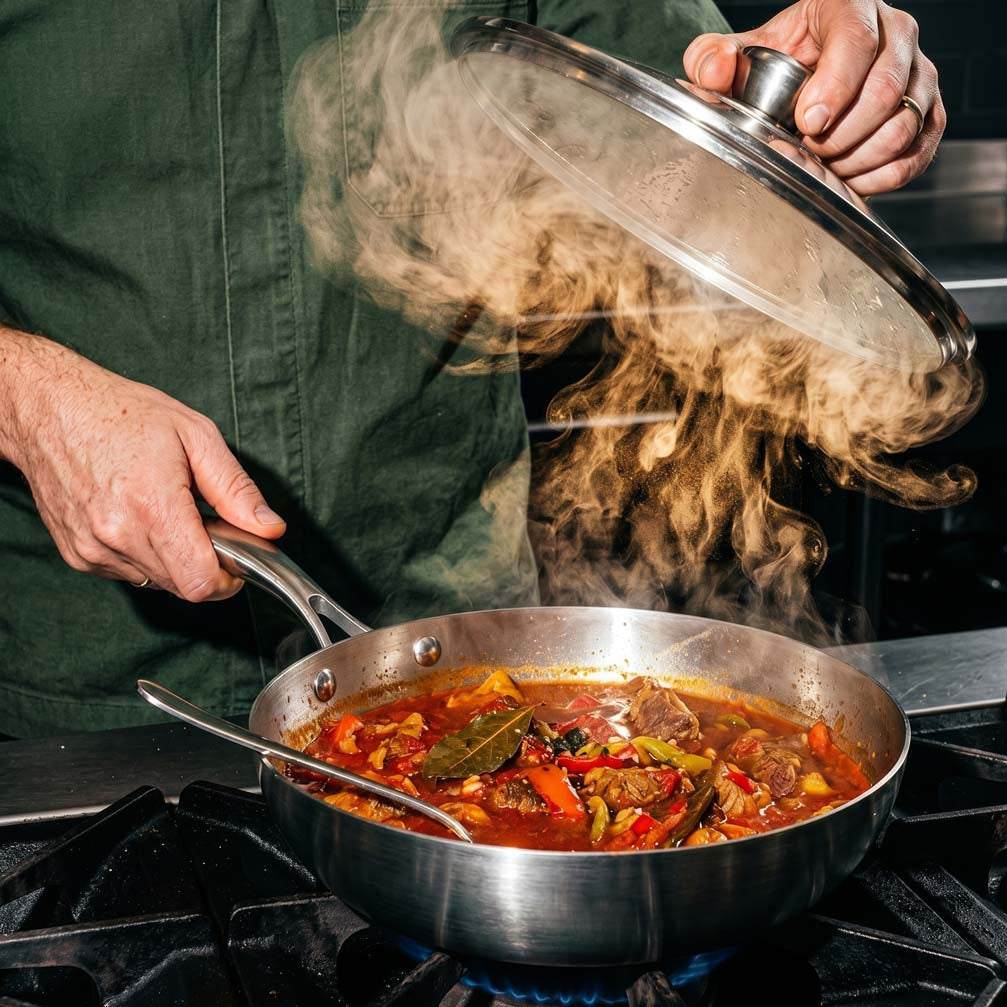
This is where stainless steel truly triumphs over non-stick. The drippings stuck to the bottom after searing (what chefs call "fond") are the base of all classic sauces. A little wine, broth, or cream, a wooden spatula to scrape up the fond, and you have a restaurant-quality sauce in 3 minutes.
For a complete overview of recipes that make the best use of stainless steel, consult the guide what to cook in a stainless steel pan: 10 recipe ideas, and for a debated case study, fat-free cooking with stainless steel.
Mistakes to avoid when cooking with stainless steel
These mistakes account for 90% of disappointments when switching to stainless steel. Identifying them allows you to correct them in a single cooking session.
❌ Pouring oil into a cold pan
We've talked about it, but it bears repeating: oil heats too slowly, degrades, and sticks. Always preheat empty, then add the oil.
❌ Placing food straight from the fridge into a hot pan
The sudden thermal shock locally cools the metal, causes the food to release water, and leads to sticking. Take meat, fish, or cheese out 15 to 20 minutes before cooking.
❌ Stirring constantly
Cooking with stainless steel requires patience. Place, wait, flip. Meat or fish stirred every 10 seconds will never caramelize properly and will tend to stick.
❌ Cooking over high heat "to go faster"
Stainless steel conducts heat so well that high heat is almost always excessive. You'll burn the surface before the heat penetrates. Medium heat, patience, good results.
❌ Overcrowding the pan
Too much food causes the temperature to drop and releases water. Cooking in 2 or 3 batches is better than one large, botched batch.
If your food continues to stick systematically despite all this, the sister article details all the solutions: how to prevent food from sticking to stainless steel.
Cleaning your stainless steel pan after cooking without damaging it
The right approach: clean the pan while it's still warm, not scorching hot, and especially not icy cold. Thermal shock between a hot pan and cold water can, over time, cause the bottom to warp.
For regular cooking, warm water, dish soap, and a non-abrasive sponge are sufficient in 95% of cases. For stubborn residues, two effective options:
- 💧 The hot water method: pour 1 cm of water into the still-warm pan, return to medium heat for 2 minutes. The fond will detach by itself.
- 🧂 The baking soda method: sprinkle with baking soda, add a little water, let sit for 10 minutes, then scrub with a soft sponge.
⚠️ Absolutely avoid: aggressive metallic sponges, steel wool, scourers. They scratch the surface and create permanent sticking zones. For stubborn stains (rainbow, limescale marks), a cloth soaked in white vinegar works wonders.
The subject of deep cleaning and salvaging a burnt pan deserves its own comprehensive guide: the complete guide to stainless steel pan care.
Which stainless steel pan to choose for a good start?
Everything above assumes you have a quality stainless steel pan. A cheap, thin-bottomed pan, without multi-layer construction, negates half the benefits: it creates hot spots, warps at the first high heat, and makes you mistakenly think the technique is to blame.
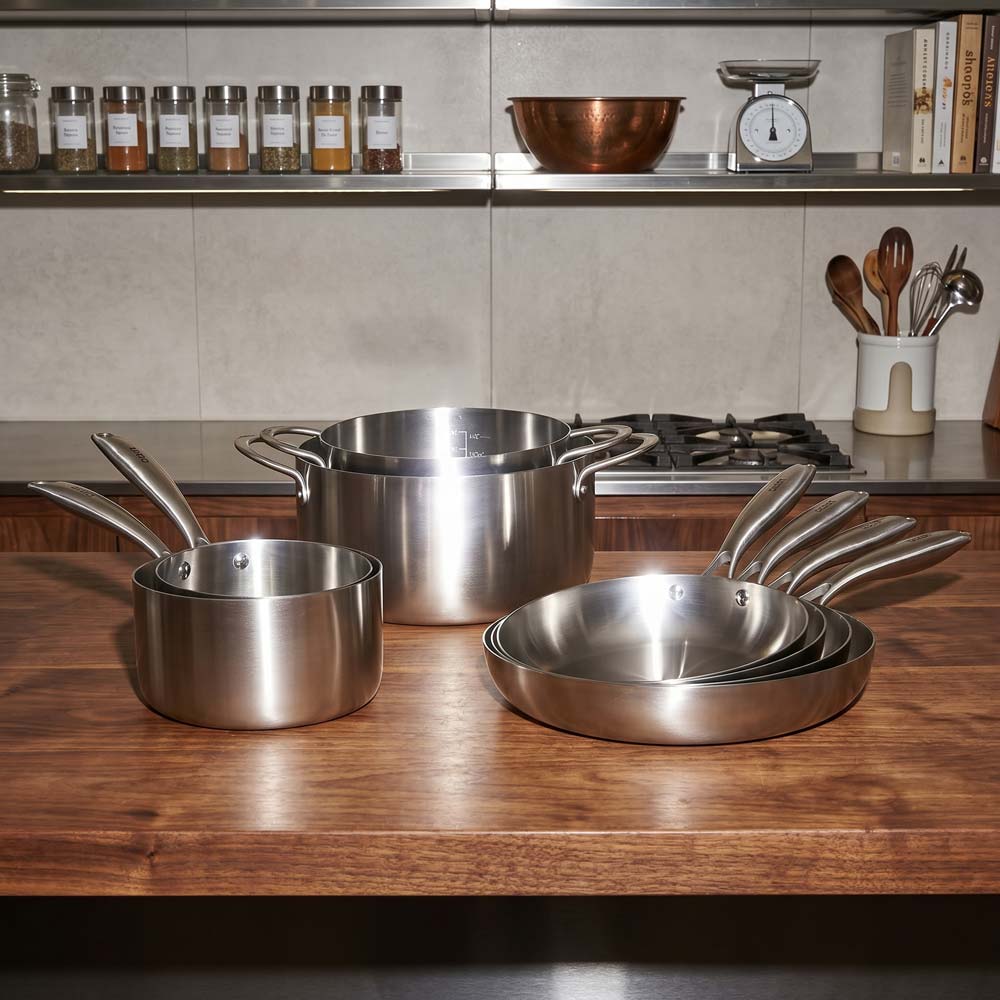
The important criteria: 18/10 stainless steel on the food contact surface, tri-ply bottom with an aluminum layer for diffusion, riveted handle for robustness, and induction compatibility. The SAINE 28 cm stainless steel pan meets all four criteria and represents the most versatile diameter (2 to 4 people).
If you are still comparing models and brands, I have updated my comparison of the best stainless steel pans 2026 with the models I recommend based on use and budget.
And if the question of the material itself still bothers you (stainless steel, cast iron, ceramic, non-stick), the health answer is in the complete comparison of the healthiest pan for health.
FAQ: Cooking with stainless steel pans, frequently asked questions
Why does my stainless steel pan blacken at the bottom when I cook?
This "blackening" is usually a layer of oxidized oil that has degraded above its smoke point, or carbonized food residues from too high heat. It is not toxic and is reversible. Solution: medium heat, suitable oil, and a pass with baking soda or white vinegar to remove the layer.
How long should I preheat a stainless steel pan?
Between 2 and 3 minutes over medium heat for a 28 cm pan, a little less for a 24 cm one. The reliable indicator is not the timer but the water droplet test: as soon as a pearl of water slides on the surface without evaporating, the pan is ready.
Can you cook on high heat with a stainless steel pan?
Occasionally, for very short searing of red meat (thin steak, 1 to 2 minutes per side), yes. For everyday use, no. Stainless steel conducts heat well enough that medium heat is sufficient. Constant high heat wears out the pan, burns food, and reduces cooking control.
Should I preheat the stainless steel pan empty or with oil?
Empty, always. Add the oil once the water droplet test is successful. Preheating with oil already in it causes the fat to degrade before the pan is usefully hot.
What is the difference between a stainless steel pan and a tri-ply pan?
A simple "stainless steel" pan has only one metal (solid stainless steel or with a encapsulated aluminum bottom). A "tri-ply" pan has three layers across its entire surface: stainless steel on the cooking surface, aluminum in the center for diffusion, stainless steel on the exterior. Tri-ply heats more evenly, without hot spots, and it's the construction I recommend for everyday use.
Can metal utensils be used on a stainless steel pan?
Yes, without restriction. Stainless steel has no coating to damage. Metal spatulas, whisks, tongs: everything is allowed. This is a major advantage over non-stick, which requires wooden or silicone utensils.
My stainless steel pan has rainbow stains, is that serious?
No. These iridescent reflections are due to surface oxidation caused by heat and certain water minerals. They are purely aesthetic, completely harmless, and can be removed with white vinegar or diluted lemon.
Is a stainless steel pan suitable for all types of cooktops?
If it is induction compatible (ferromagnetic base), it also works on gas, ceramic hobs, electric hobs, and often in the oven. It is the most universal cooking material. Just check the induction pictogram under the pan before purchase.
How to use your stainless steel pan well: the 3 reflexes that will change your cooking
If you were to remember only three things from this guide, here they are. These are the same three I apply to every meal I cook in my kitchen, and they are what makes the difference between a pan you love and a pan you avoid.
✅ The 3 reflexes that change everything:
- 🔥 Preheat empty, 2 to 3 minutes, medium heat, water droplet test before adding oil
- 🛢️ High smoke point oil (avocado, ghee, high-oleic sunflower) for all searing
- ⏱️ Medium heat, patience, the food will release itself when ready
Cooking with stainless steel is neither complex nor intimidating. It just requires changing two or three habits inherited from non-stick. In return, you get a pan that lasts a lifetime, contains no PFAS, allows you to make sauces with pan drippings, and is oven-safe with no temperature limits.
If you're looking to replace your non-stick pan with a reliable stainless steel model, our 2026 comparison of the best stainless steel pans presents the models I recommend based on use.
📚 Sources and cited references:
- ANSES, Smoke points and thermal stability of cooking oils (fat sheets)
- INRAE, Maillard reaction and flavor formation in cooking
- Leidenfrost effect: Journal of Heat Transfer, studies on air-water heat transfer on metal surfaces
- UFC-Que Choisir, comparative tests of pans and usage tips (2023 to 2025 editions)


Share:
Cooking meat in a stainless steel pan: the technique for a perfect sear
Fat-free cooking in a stainless steel pan: myth or reality?